


activate your esim
in Minutes
Switch to Roamin Rabbit eSIM in a hop! Follow these simple steps to set up and start exploring the internet hassle-free — perfect for everyone, tech-savvy or not.
Step by Step iOSesim ACTivation guide
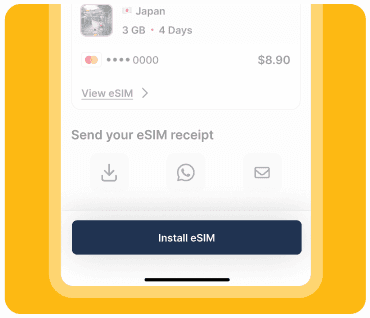
After purchasing your eSIM, go to My eSIMs > Upcoming. Select the eSIM that you want to activate and click Install eSIM.
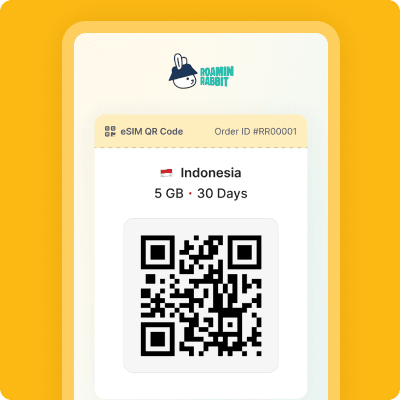
You will receive a QR code, which you will need to scan later on when you want to install your eSIM on your device.
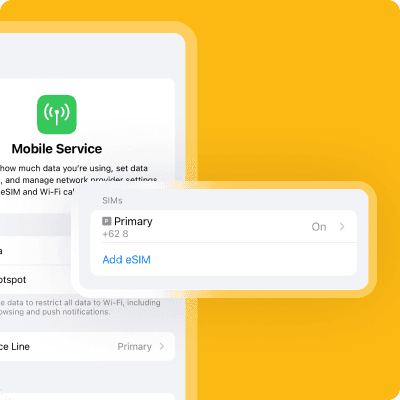
On your phone, go to Settings > Mobile Service and then find the SIMs section and tap Add eSIM.
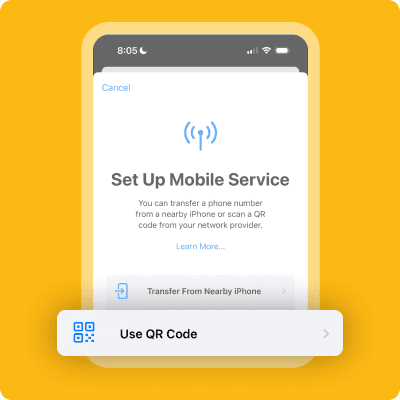
Click Use QR Code and then scan the QR code from the e-SIM and wait for a few moment and then click Activate eSIM.
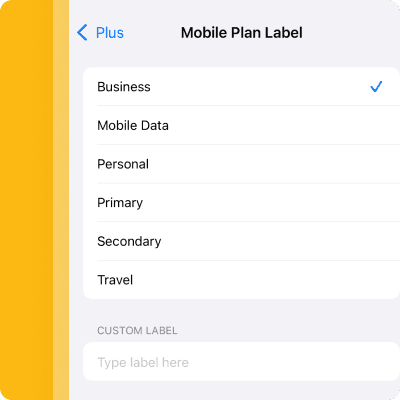
Next, choose a label for your new eSIM or you can customise the label. Then, under the Default Line page, select your eSIM for cellular data only.
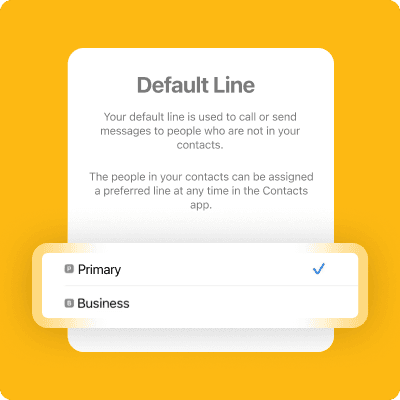
Select Primary as your default line and tap Continue. Choose ‘Primary’ again for iMessage and FaceTime (Apple ID), then tap ‘Continue’.
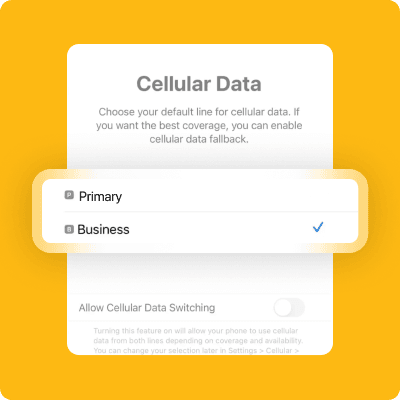
Select your new eSIM plan for cellular data, then tap ‘Continue’.
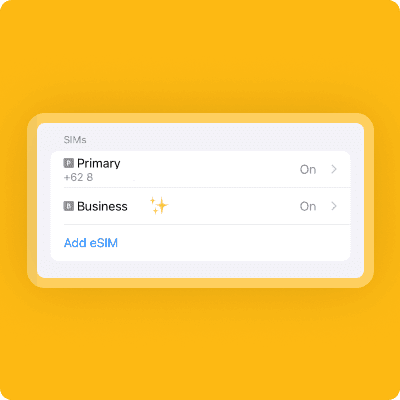
You should find your new eSIM under the SIMs section.
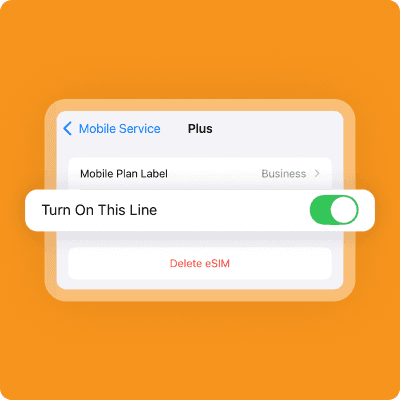
To activate your data, click on your new eSIM and then activate the Turn On This Line toggle.
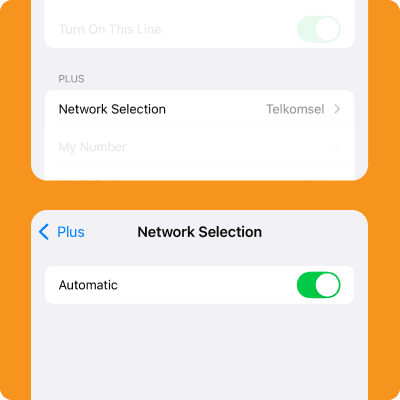
Click Network Selection and turn off Automatic. If your device connects to the wrong network, choose the correct one manually.
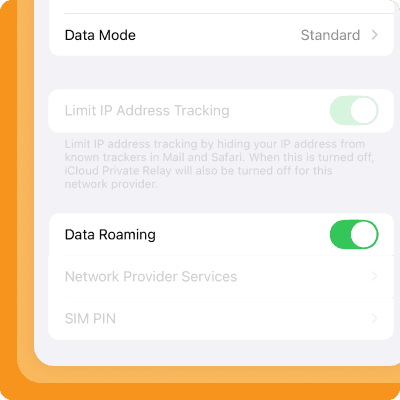
Then enable the Data Roaming toggle. eSIM will only activate and start when you arrive at your destination country And now you’re ready to roam with Roamin Rabbit! 🎉
Need Help?
we’ve got you covered
Need Help?
we’ve got you covered
If the steps above don’t resolve the issue, our team will be ready to help. Contact us for further assistance.
Contact us
your peace
of mind
frequently
asked questions